Unlock Unparalleled Refreshment: The Magic of Macerated Lime Peels in Your Limeade
Few beverages rival the crisp, invigorating taste of a perfectly crafted limeade recipe on a scorching hot day. It's a quintessential summer sipper, a refreshing antidote to the heat that transports you to sunny patios and backyard gatherings. While a simple squeeze of lime juice, sugar, and water can make a decent drink, there's a unique, age-old method that elevates limeade from good to utterly extraordinary: the art of macerating lime peels.
This technique, often passed down through generations, taps into the hidden treasures within the lime rind itself, transforming your beverage into a vibrant, complex, and intensely aromatic experience. Forget bland or one-note drinks; with maceration magic, you’re about to discover the secret to the best limeade you’ve ever tasted.
The Science of Flavor: Why Maceration is a Game-Changer for Limeade
So, what exactly is this "maceration magic," and why does it make such a profound difference? At its heart, maceration is a gentle extraction process. When you combine sugar with fruit peels, the sugar acts as a desiccant, drawing out moisture and, more importantly, the highly fragrant essential oils and flavorful compounds that reside in the zest of the lime. These oils, which would otherwise be discarded, are potent flavor bombs that add incredible depth and nuance.
Think about it: the part of the lime that gives you that initial burst of bright citrus aroma when you scratch it is the zest. Conventional limeade recipes only utilize the juice, leaving these precious aromatics behind. By soaking the rinds in sugar, you're essentially creating a homemade lime syrup, infusing the sugar itself with these vibrant oils. This results in a limeade that isn't just sweet and tart, but also boasts a captivating, bold citrus aroma and a more rounded, complex flavor profile that tantalizes all your senses. It’s the difference between a simple drink and a truly gourmet experience, reminiscent of cherished family recipes that just "taste better."
Crafting Your Macerated Limeade: A Step-by-Step Guide
Making this superior limeade recipe might sound intricate, but it’s surprisingly straightforward. The key is planning ahead, as the maceration process needs a few hours to work its wonders. Here’s how to master it:
1. Select and Prepare Your Limes
- Choose Wisely: Opt for limes that feel heavy for their size – this usually indicates more juice. Look for smooth, thin skins, which often signal less bitter pith and more aromatic zest.
- Wash Thoroughly: Since you'll be using the peels, a good wash is crucial. Scrub your limes under cool water to remove any wax, dirt, or residues.
- Roll 'Em Out: Before cutting, place each lime on your counter and roll it firmly under the palm of your hand. This simple action helps to break down the internal cells, making the limes easier to juice and maximizing the yield. You might even notice the kitchen filling with that bright citrus aroma as you do!
2. Juice and Preserve the Rinds
- Halve and Juice: Cut your well-prepped limes in half and juice them. Aim for about 1¾ cups of fresh lime juice for a standard batch. Set this juice aside; it will be added later.
- Chunk the Rinds: This is where the magic begins. Do NOT discard those juiced lime halves! Instead, cut the rinds into smaller, manageable chunks. The more surface area exposed, the better the sugar can work its magic.
3. The Maceration Process
- Combine with Sugar: In a large, non-reactive bowl (glass, ceramic, or stainless steel are ideal – avoid aluminum or other metals that can react with acid), toss the lime rind chunks with about 1½ cups of granulated sugar. Ensure the rinds are thoroughly coated.
- Cover and Wait: Cover the bowl tightly with plastic wrap. This prevents air exposure and helps create a humid environment for the sugar to draw out the oils. Let it sit at room temperature for at least 3 hours. For an even deeper, more profound flavor, you can extend this up to 12 hours.
- Stir Occasionally: Every hour or so, give the mixture a good stir. You'll notice the sugar gradually dissolving, creating a thick, fragrant lime syrup as the oils and juices are drawn out from the peels. This transformation is truly fascinating to watch!
4. Assemble and Strain
- Add Liquids: Once maceration is complete, add your reserved lime juice and 2 cups of cold water to the bowl. Stir everything well until any remaining sugar has completely dissolved into the fragrant concentrate.
- Strain for Perfection: Place a fine-mesh strainer over a glass pitcher or another large bowl. Pour the entire mixture through the strainer, pressing down firmly on the lime rinds with the back of a spoon or a muddler. This step is critical to extract every last drop of that syrupy goodness and flavorful oils. Discard the spent rinds.
Elevate Your Limeade: Creative Variations and Serving Suggestions
Your macerated limeade is already a masterpiece, but its versatility means you can easily customize it to suit any mood or occasion:
- Fizzy Delight: For a sparkling limeade, replace some or all of the cold water with chilled sparkling water or club soda just before serving. The effervescence adds a wonderful lift.
- Herbal Infusions: Experiment with fresh herbs during the maceration process. Adding a few sprigs of mint, basil, or rosemary to the sugar and lime peel mixture will infuse unique, sophisticated notes. You can also add them directly to the pitcher for a more subtle hint.
- Fruity Twists: Blend 1 cup of fresh strawberries, raspberries, or even mango, and stir it into the finished limeade for a delightful fruit-flavored variation. Adjust sweetness to taste.
- Adult Indulgence: For a refreshing cocktail, add a splash of white rum, tequila, or gin to individual servings. It makes for an incredibly bright and zesty mixer.
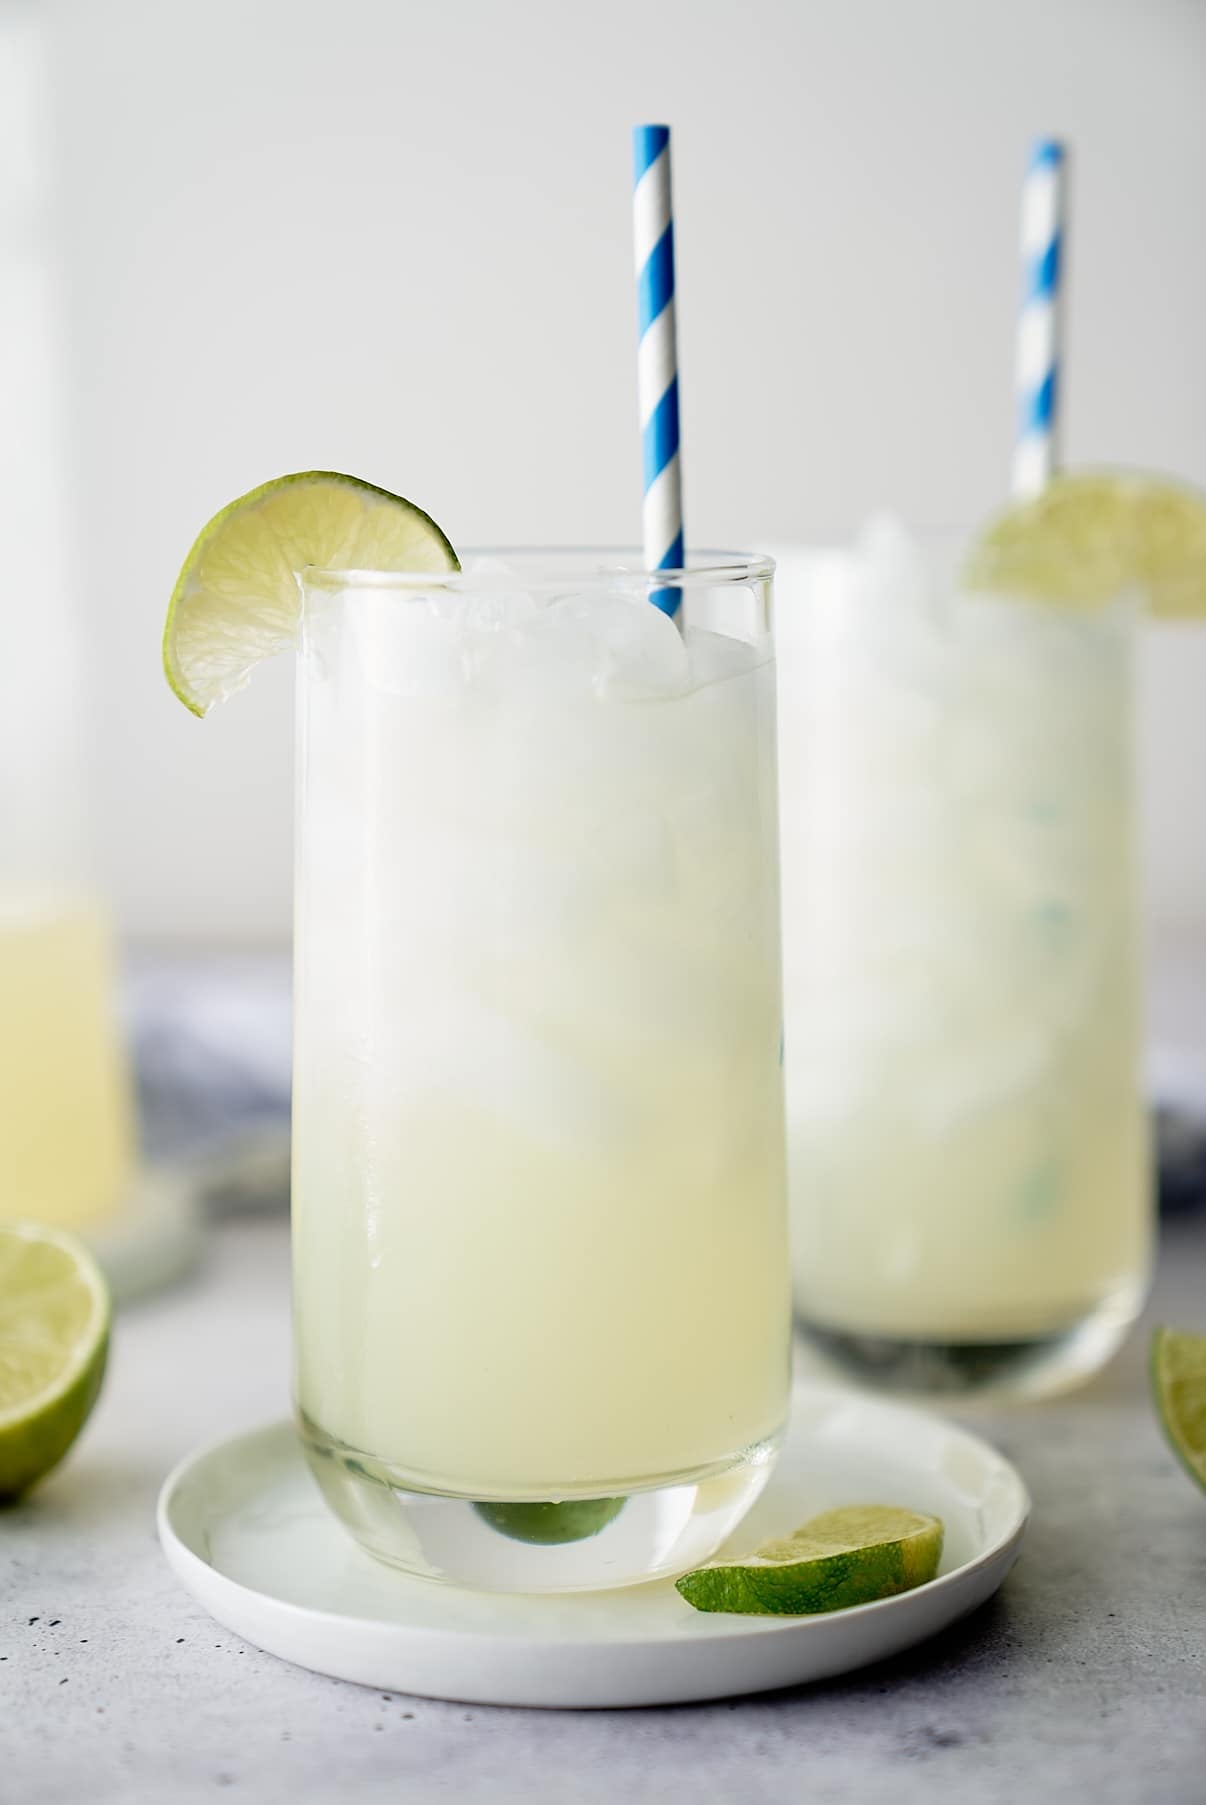
- Garnish with Flair: Fresh lime slices, a sprig of mint, or even a few berries elevate the presentation and enhance the sensory experience.
Tips for the Perfect Pitcher Every Time
- Adjust to Your Taste: Limes can vary significantly in tartness. After mixing everything, always taste your limeade. If it's too tart, add a little more sugar (dissolved in a tiny bit of hot water first) or plain water. If it's too sweet, add a splash more lime juice.
- Plan Ahead: Remember, the maceration process requires at least 3 hours. This isn't a last-minute limeade recipe, but the resulting lime concentrate can be stored in an airtight container in the refrigerator for up to a week, ready to be mixed with water or sparkling water on demand.
- Serve Chilled: This limeade is best served over plenty of ice. The colder it is, the more refreshing!
Embracing the maceration method for your limeade is more than just a technique; it's an appreciation for flavor, a nod to traditional wisdom, and a commitment to creating something truly special. The small investment of time yields enormous returns in taste, transforming a simple summer drink into an unforgettable, aromatic experience. So next time you reach for limes, remember the magic held within their peels, and prepare to craft a limeade that will captivate everyone who sips it.
